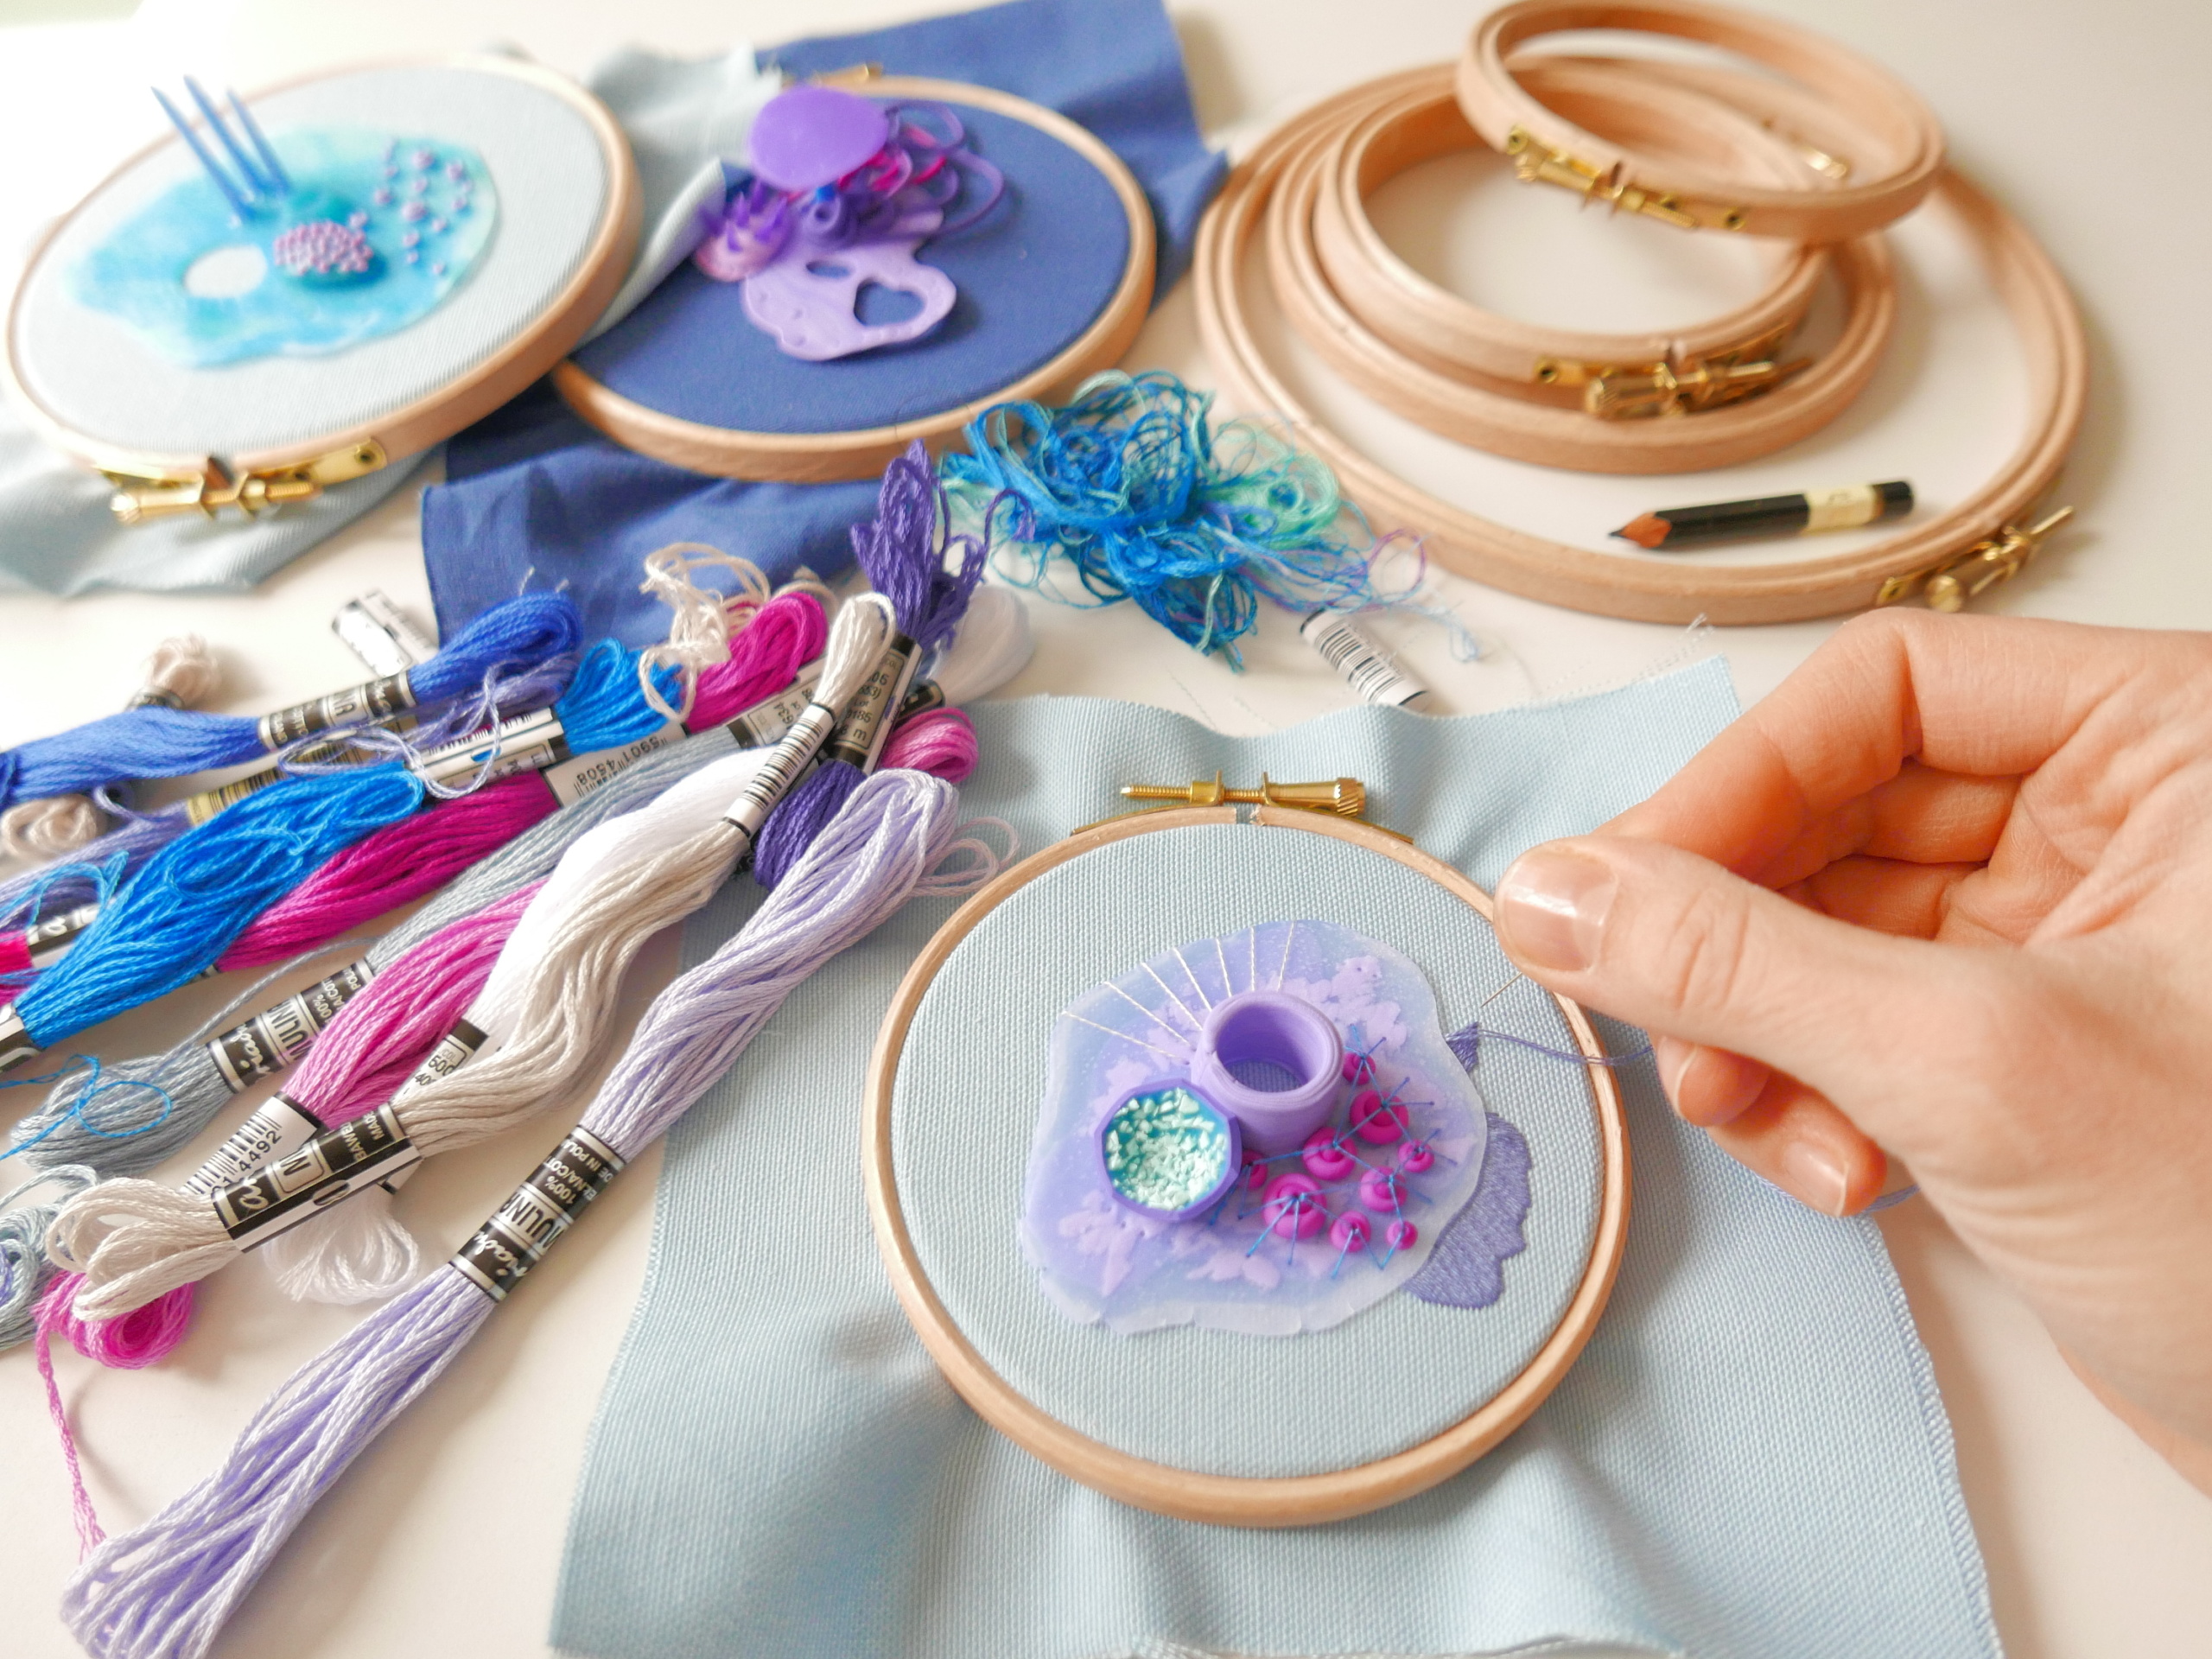
Learning stitching is one of the coolest things to do on a calm Saturday (or any day) afternoon. This simple embroidery tutorial is completely designed by me and reveals all the basic stitches. It is planned as a series of short descriptions with pictures and samples. It will cover all the traditional embroidery techniques as well as my own inventions – embroidery mixed with polymer clay.
I hope to lead you through an amazing adventure and eventually to inspire your to find your own style and embroider the most unique and beautifull things. Because there is so many ways you can use a running stitch, that can become your special signature.
Embroidery Tutorial : Running stitch

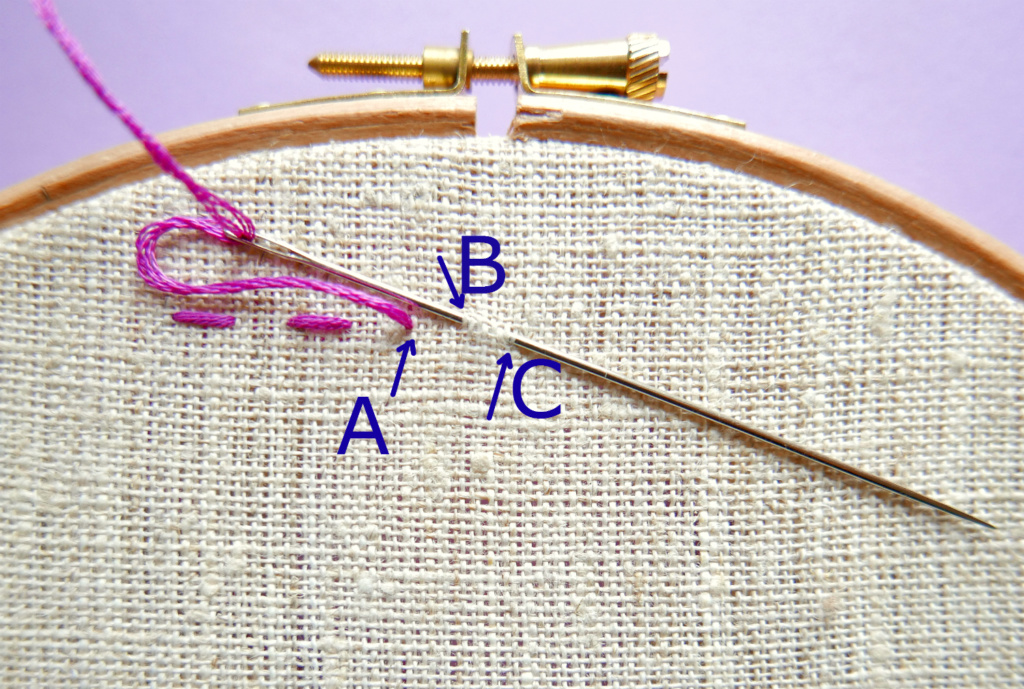
Running stitch (simple)
Come up at A, go down at B, and then up at C; continue making small, even stitches that are the same length as the spaces between them. Repeat. Create a stright line or curved. Put many running stitches one by one to make a filling of a shape. Vary the lenght of spaces between the stitches.

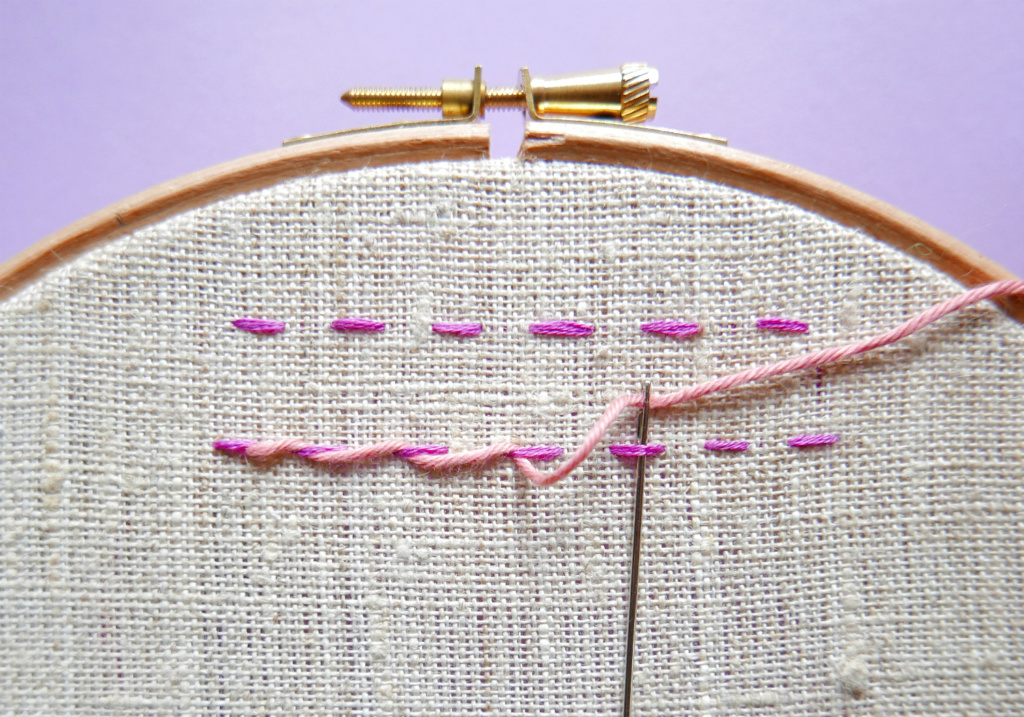
Whipped running stitch
Work a row of evenly spaced running stitches. Start a new thread bring the needle up alongside the first stitch and take it through the next stitch (not through the fabric). Repeat. Think of variations:
- use contrasting threads for whipping, use different thickness threads
- alter the lenght and spacing of running stitches.
- use 2 or 3 rows of running stitches.
